Repotting Your Plant
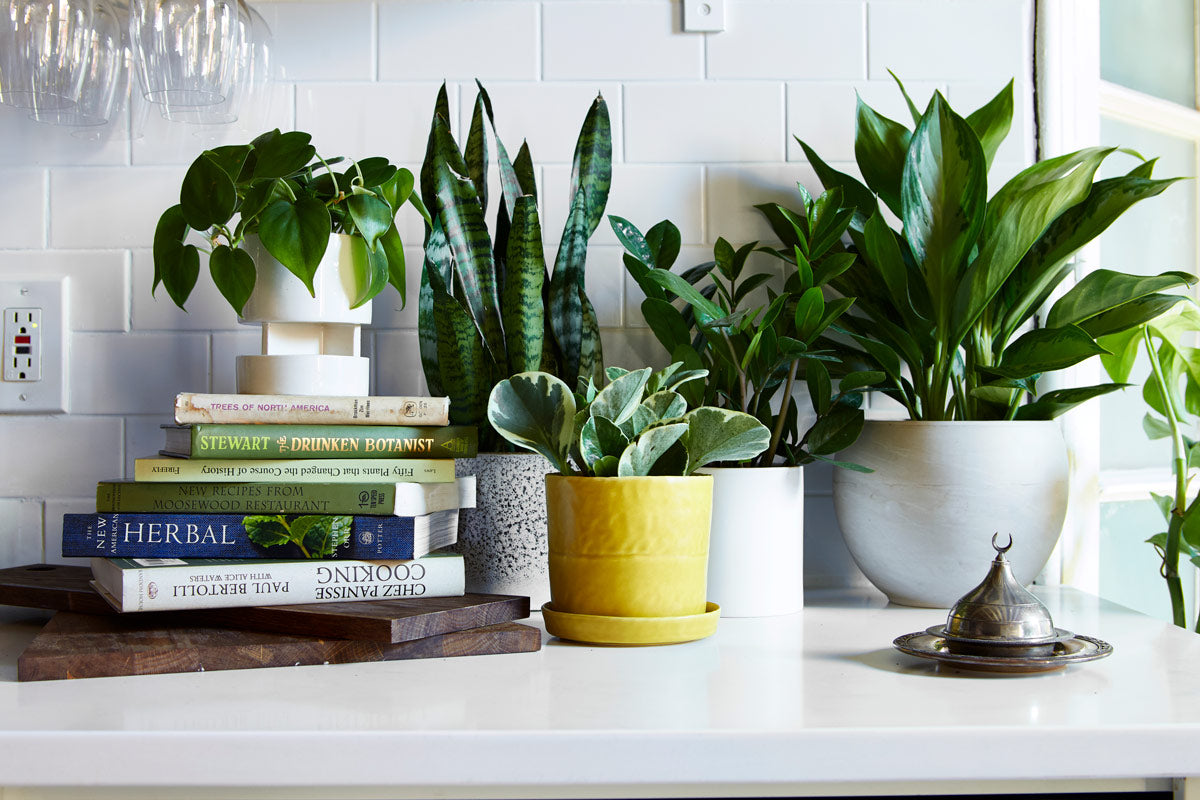
The time has come. You need to repot your plant. Perhaps, you need to repot for aesthetics - you want to trade up to a stylish new planter. Or perhaps you have delayed the inevitable and need to upsize your plant’s living quarters.
Regardless, repotting your plant can seem like a messy and intimidating task. But with the right materials, method, and a little practice, it’s a pretty quick and painless procedure — for both you and the plant!
THE BASICS
Assessing Your Plant’s (Repotting) Needs
The first step is to consider if your plant needs repotting. Repotting can be stressful for plants, so it’s not something that should be done frequently or without consideration. The reason to repot is to give the plant additional room to grow, and also to provide a refresh of soil as it can become depleted of nutrients over time.
Some of the signs that your plant may need to be transplanted are roots emerging from the drainage holes, or soil that looks very dry and dusty, and of course if it has been years since you repotted and the plant just looks far to big and unstable in the current pot.
How Often Does My Plant Need a New Home?
For most smaller tropical houseplants (2”- 8” pot diameter), it is common to repot once every 12 - 24 months.
For larger plants (10” pot diameter and bigger) it is common to repot every 24 - 48 months. At these intervals, the plant will appreciate a refresh of its soil and a little more room for the root mass to grow. Repotting a plant into a larger vessel will continue its growth, while just refreshing the soil in the existing pot will keep the plant healthy and strong. Even if you don’t want your plant to get too much bigger, adding fresh soil can help improve the vitality of your plant. You can always prune your plants to contain growth, but you want to keep your root systems happy!
Timing is Everything
We always advise repotting during the spring and summer when plants are at their strongest and in a period of growth.
But What About My Sick Plant?
Many people ask me for advice about repotting a sick plant hoping that repotting will be the magic bullet that helps their ailing plant into recovery. The reality is that it is best not to repot a plant when it is sick or stressed, unless repotting will significantly help the plant recover (ie. root rot). It is not common for a plant to be severely suffering from lack of nutrients or being pot bound unless it has been in the same pot for quite some time. It's best to eliminate all issues related to care and health before repotting so that your plant can focus on new root growth after you repot.
SIX STEPS TO REPOTTING
Step One:
Before you begin repotting, ensure you have all of your necessary materials: your plant, its new vessel, appropriate soil, and drainage material.
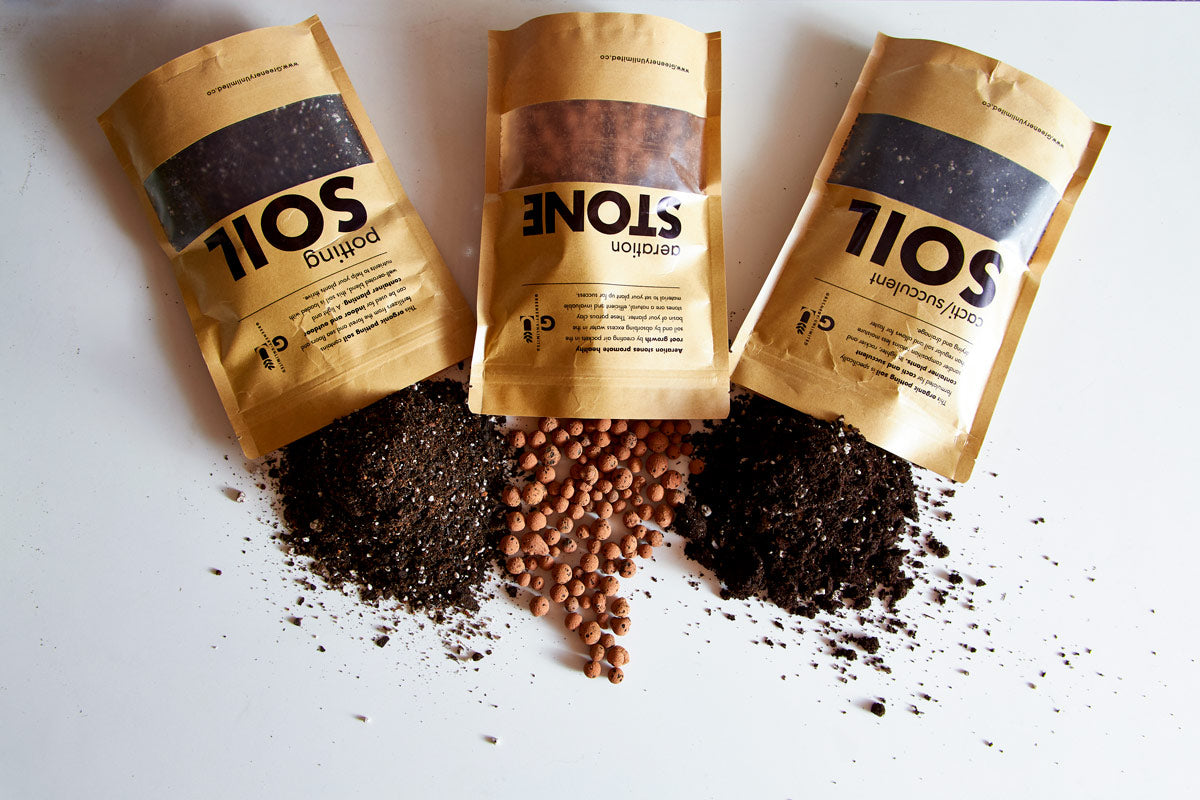
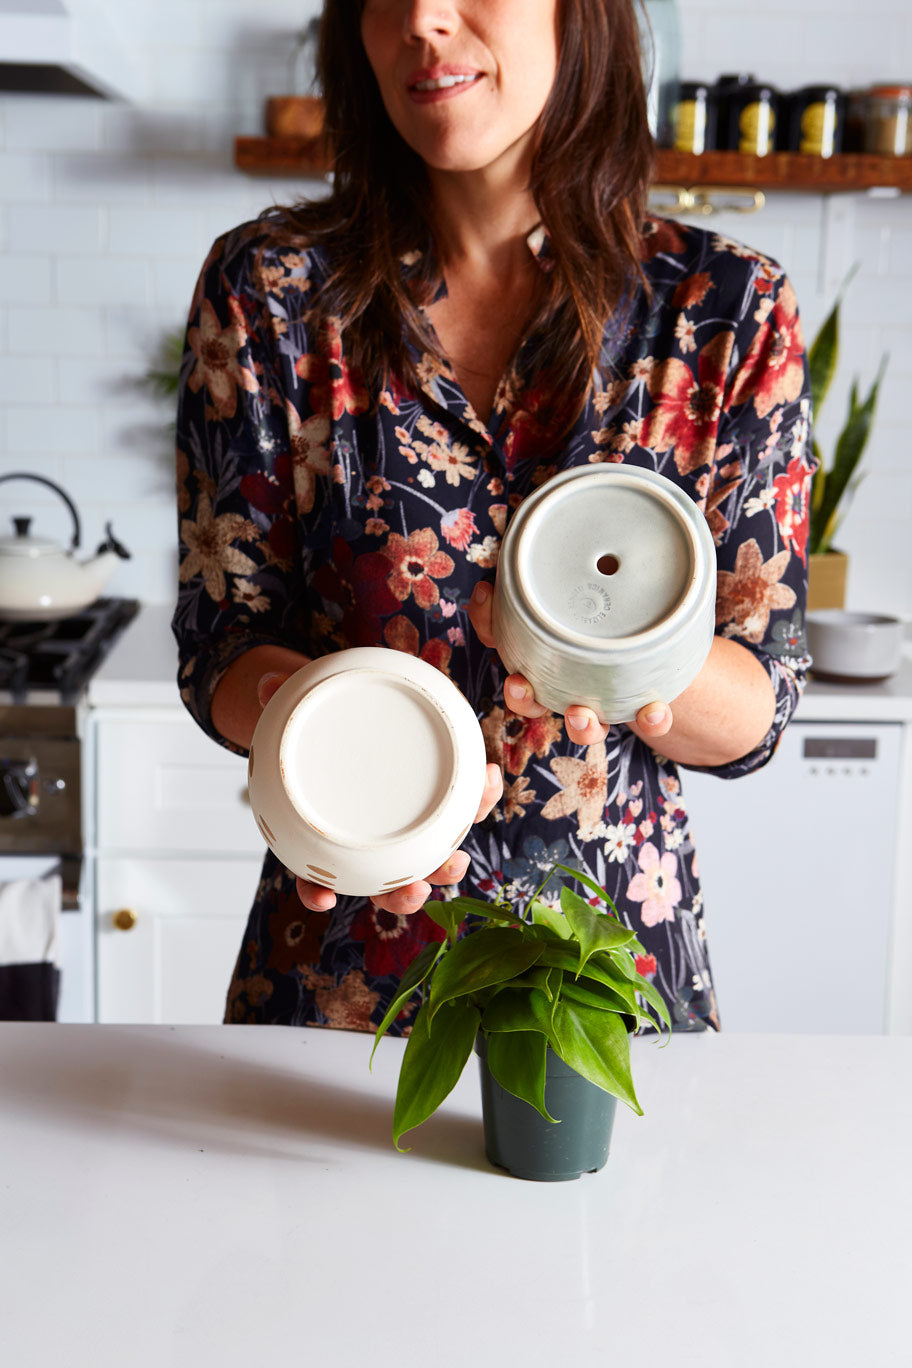
The vessel and soil you use will depend on the type of plant you are repotting. For a plant with high watering requirements — either volume or frequency — selecting a self watering vessel (sub irrigation) or a vessel with a drainage hole and catch trey is the safest bet, especially for less experienced plant parents. The chance of moisture building up in the pot is increased in pots without drainage so they are better suited for plants with moderate to low watering requirements. When potting directly into a vessel with no drainage hole, use a liberal amount of aeration stone at the bottom of the pot and water more conservatively.
For most plants, all purpose potting soil is a great choice, but for plants that like their soil to dry out thoroughly between waterings — such as cacti, succulents, snake plants, and others — we advise using specifically formulated cacti and succulent soil. It’s sandier and rockier than regular potting soil, drains faster, and retains less moisture.
Step Two:
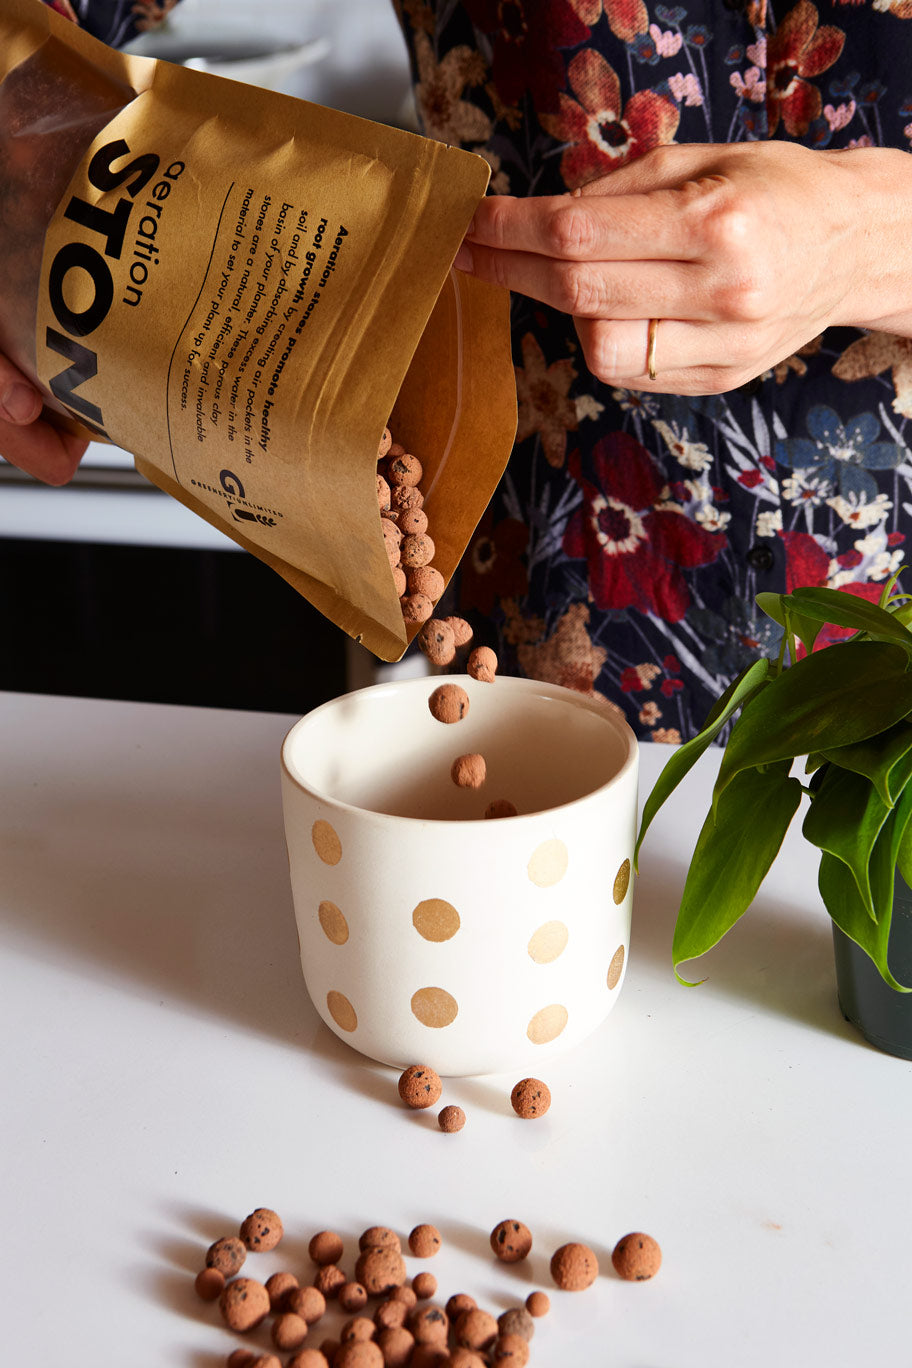
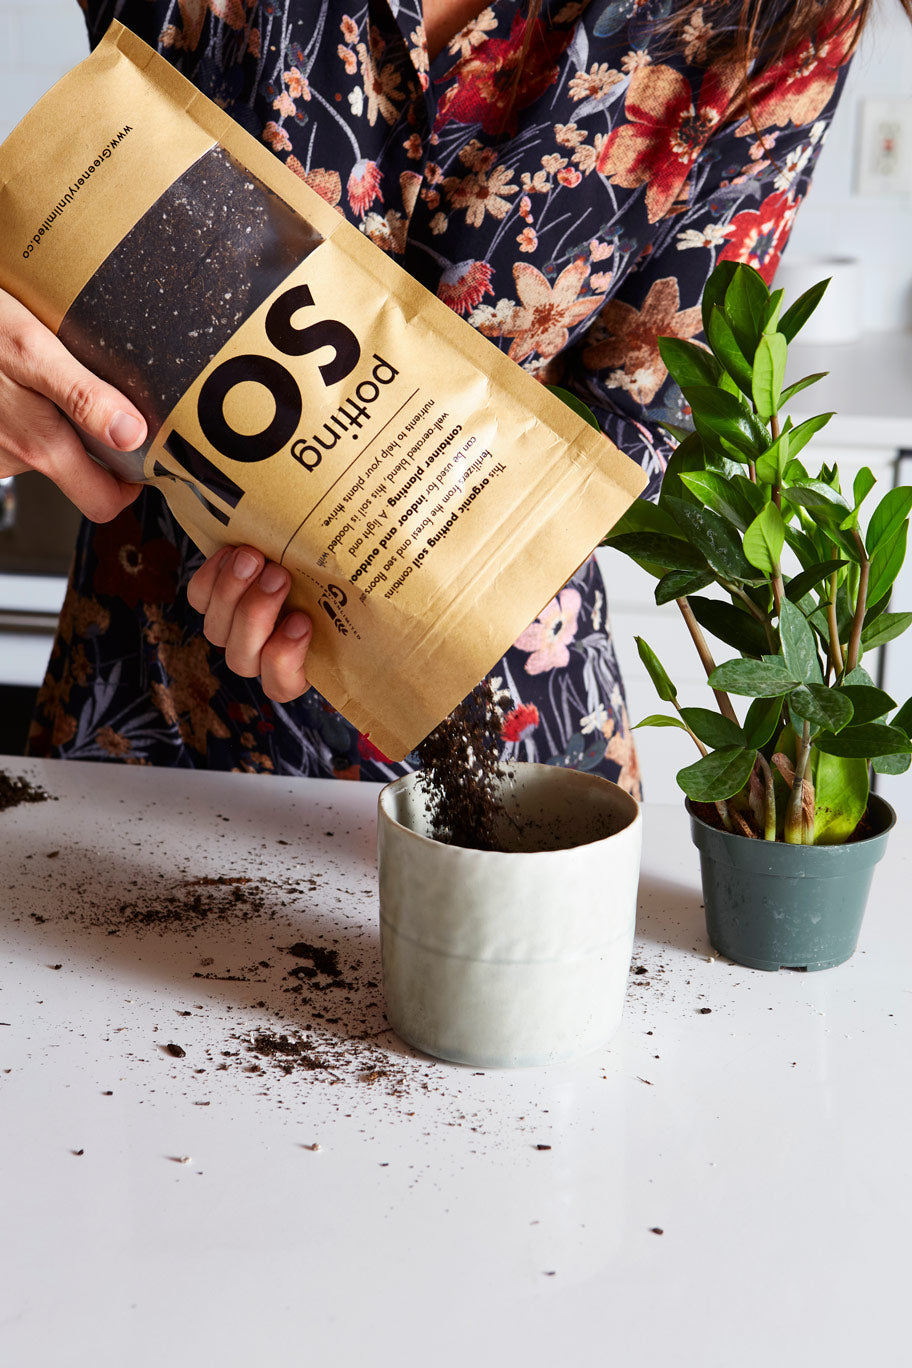
Line the bottom of your new vessel with aeration stone. Regardless of whether your pot has a drainage hole or not, this will elevate the soil off the bottom, assisting with drainage and preventing mold or algae from forming. For pots without a drainage hole, this is especially important as it will create a buffer zone for excess water to sit in before being reabsorbed when the soil is ready. Sprinkle a layer of soil on top of the drainage rock. It’s time to get your plant!
Step Three:
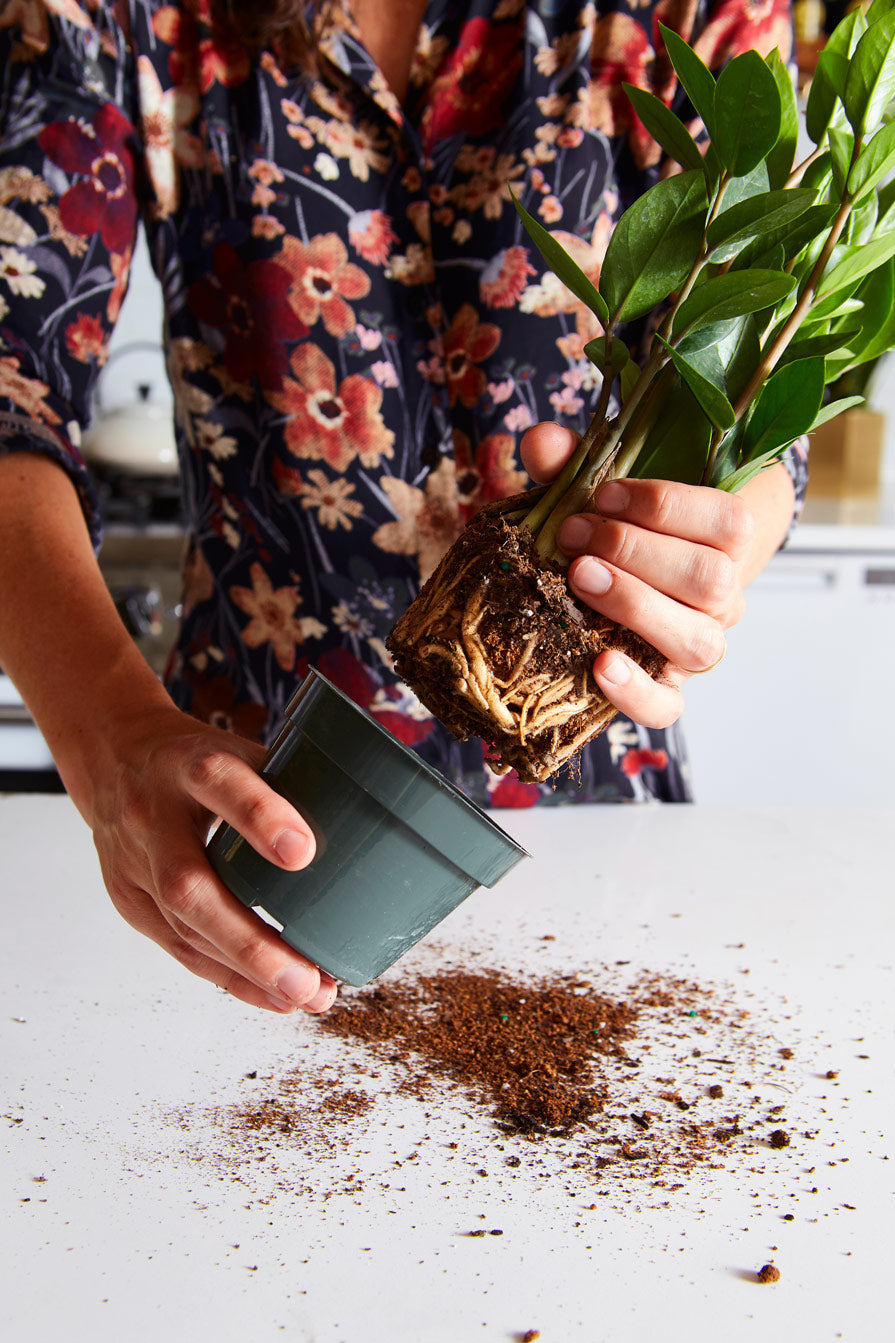
Remove your plant from its existing container by tapping or squeezing the sides for the pot to loosen it. Gently grasp the plant by its stem as close to the soil as you’re able and gently pull. If it won’t budge, try tilting the plant on it’s side to dislodge it. You can use a spade or tool to break the soil away from the edge of the pot to assist in removing it. Alternatively if the plant is in the growers pot, the plastic can be cut away to reveal the root ball.
Step Four:
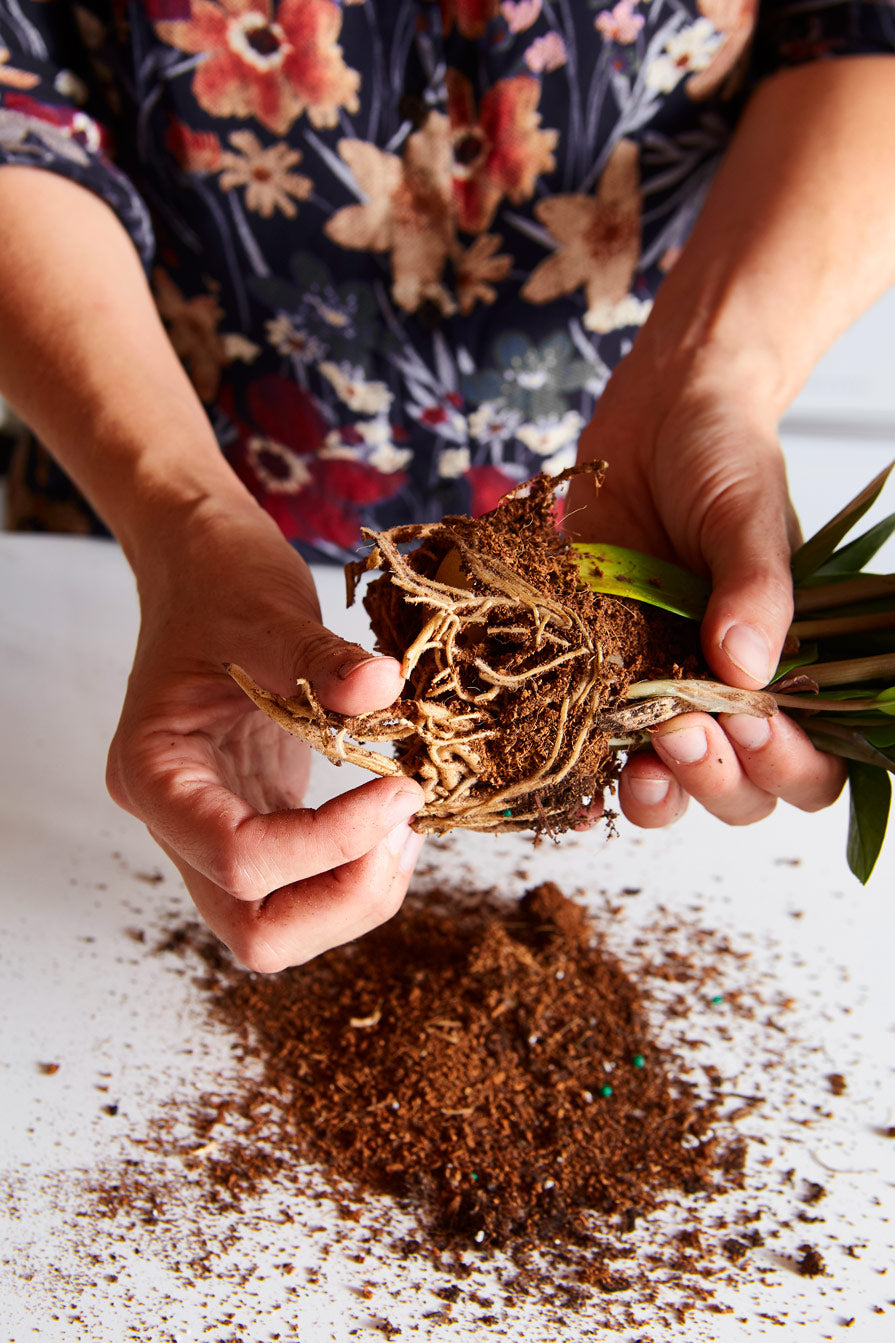
Now that the plant is loose and the roots are revealed you can transplant your plant’s root mass into the center of the new vessel. Most plants’ roots will appreciate a little massage to free them from their existing structure and encourage them to grow into their new space. Plants with more sensitive roots, like cacti, succulents, and snake plants should be handled as little as possible during the repotting process.
Step Five:
Pack fresh soil all around the plant’s root mass, filling up the remainder of the container. Make sure to press down gently yet firmly, to secure the plant. It is good to compact the soil as loosely packed soil can result in the plant becoming unstable, or water channeling through so that it doesn't effectively get absorbed into the medium. Fill the container up close to its lip, but stop at least half an inch to an inch from the top so you can water easily without spillage or overflow.
Step Six:
Finally, clean off any errant dirt from your pot and your plant with a damp cloth and take a moment to admire your handiwork! Give your plant a nice thorough drink when all is said and done. For cacti and succulents it is best to hold off on water for a week or so as their roots settle best in dry soil. Keep in mind transplant shock is normal for all plants, and stronger is some varieties more than others.


